
Quick summary
- Best for
- Cross-river church walks, longer west-side days, and Vatican-to-Trastevere planning
- Time needed
- 60-120 minutes depending on pace
- Core churches
- 3
- Walking distance
- A one-way Vatican-to-Trastevere corridor rather than a compact cluster
Before you start
Route summary
Choose this guide when you want the movement from the Vatican side to Trastevere to feel like one coherent church walk rather than dead space between districts. Enter the route once the Vatican decision is already behind you, make the crossing meaningful at San Giovanni dei Fiorentini and San Bartolomeo all'Isola, then finish at Santa Maria in Trastevere.
Why choose this route
Many visitors move from the Vatican toward Trastevere without ever turning the middle of the day into anything meaningful. The crossing becomes transit rather than part of the visit. This route fixes that by owning the corridor itself. Instead of re-running the Vatican question at the front or turning into a Trastevere directory at the end, it gives you a clear sequence that makes the movement matter. San Giovanni dei Fiorentini is where the Vatican side starts to loosen and the route becomes a real riverside continuation. San Bartolomeo all'Isola stops the crossing from feeling like empty distance. Santa Maria in Trastevere gives the route a proper landing point, not just a random finish after a bridge. These three together explain why the guide exists. That is why the route should not re-own St Peter's, Santo Spirito, or Santa Maria in Traspontina as if they were part of the same core. Those belong to the Vatican-side decision space. They may appear as staging context, but the corridor only becomes itself once the walk has actually started to leave that world behind.
How to use this guide
Treat this as the route you choose once the day has committed to a crossing.
- If St Peter's has already taken most of the morning, start the route later and keep the corridor compact.
- If you are still deciding what to do near the Vatican itself, use the Vatican-side route first rather than letting this guide absorb that job.
- If energy fades before Trastevere, finish earlier rather than forcing the full line and losing the route's shape.
Best 60-120 minute version
San Giovanni dei Fiorentini -> San Bartolomeo all'Isola -> Santa Maria in Trastevere This order works because it turns the crossing into a sequence with a beginning, midpoint, and landing. It starts at the first convincing post-Vatican bridge church, gives the island a real pause instead of dead walking, then finishes at the strongest Trastevere arrival point. The route stays linear and believable without pretending the Vatican front end is still part of the same owned core.
- Shorter version: San Giovanni plus Santa Maria in Trastevere if time is tighter and the crossing still matters more than stop count.
- Fuller version: include San Bartolomeo to make the river stage feel intentional rather than functional.
- Do not re-add Vatican-side core stops as if they belong to this route. The corridor becomes stronger when it starts later and owns its actual job.
How to plan your time
Use these timings to keep the corridor rewarding without turning it into an over-ambitious full-day march.
- San Giovanni dei Fiorentini: 10-20 minutes
- San Bartolomeo all'Isola: 10-20 minutes
- Santa Maria in Trastevere: 20-30 minutes
- Efficient version: about 60-75 minutes
- More complete version: about 90-120 minutes depending on pace and the distance already covered before the route begins
Optional route layers
These are not part of the owned core, but they may still matter when the day begins or ends differently.
- Early Vatican-side staging: Santo Spirito in Sassia or Santa Maria in Traspontina only when they genuinely help the transition. They should not behave like core corridor ownership.
- Optional hill finish: Sant'Onofrio al Gianicolo only if the day still has energy, daylight, and a reason to climb after Trastevere.
What to do next
The route ends once the Trastevere landing has been achieved. From there, make one clear next decision rather than reopening the whole west-side map.
- Continue deeper into Trastevere only if the district itself is now the point of the day.
- Stop here if the crossing and landing have already done the job. Not every cross-river route needs a second act.
- Use a sunset or Janiculum-style route only if the walk is changing character again and the finish is now about evening atmosphere rather than the corridor itself.
Stops in this guide
Stop 1
Bridge church
San Giovanni dei Fiorentini
A substantial riverside basilica at the Via Giulia end of Rome, best for turning the Vatican-to-center walk into a real church route rather than a bridge transfer.
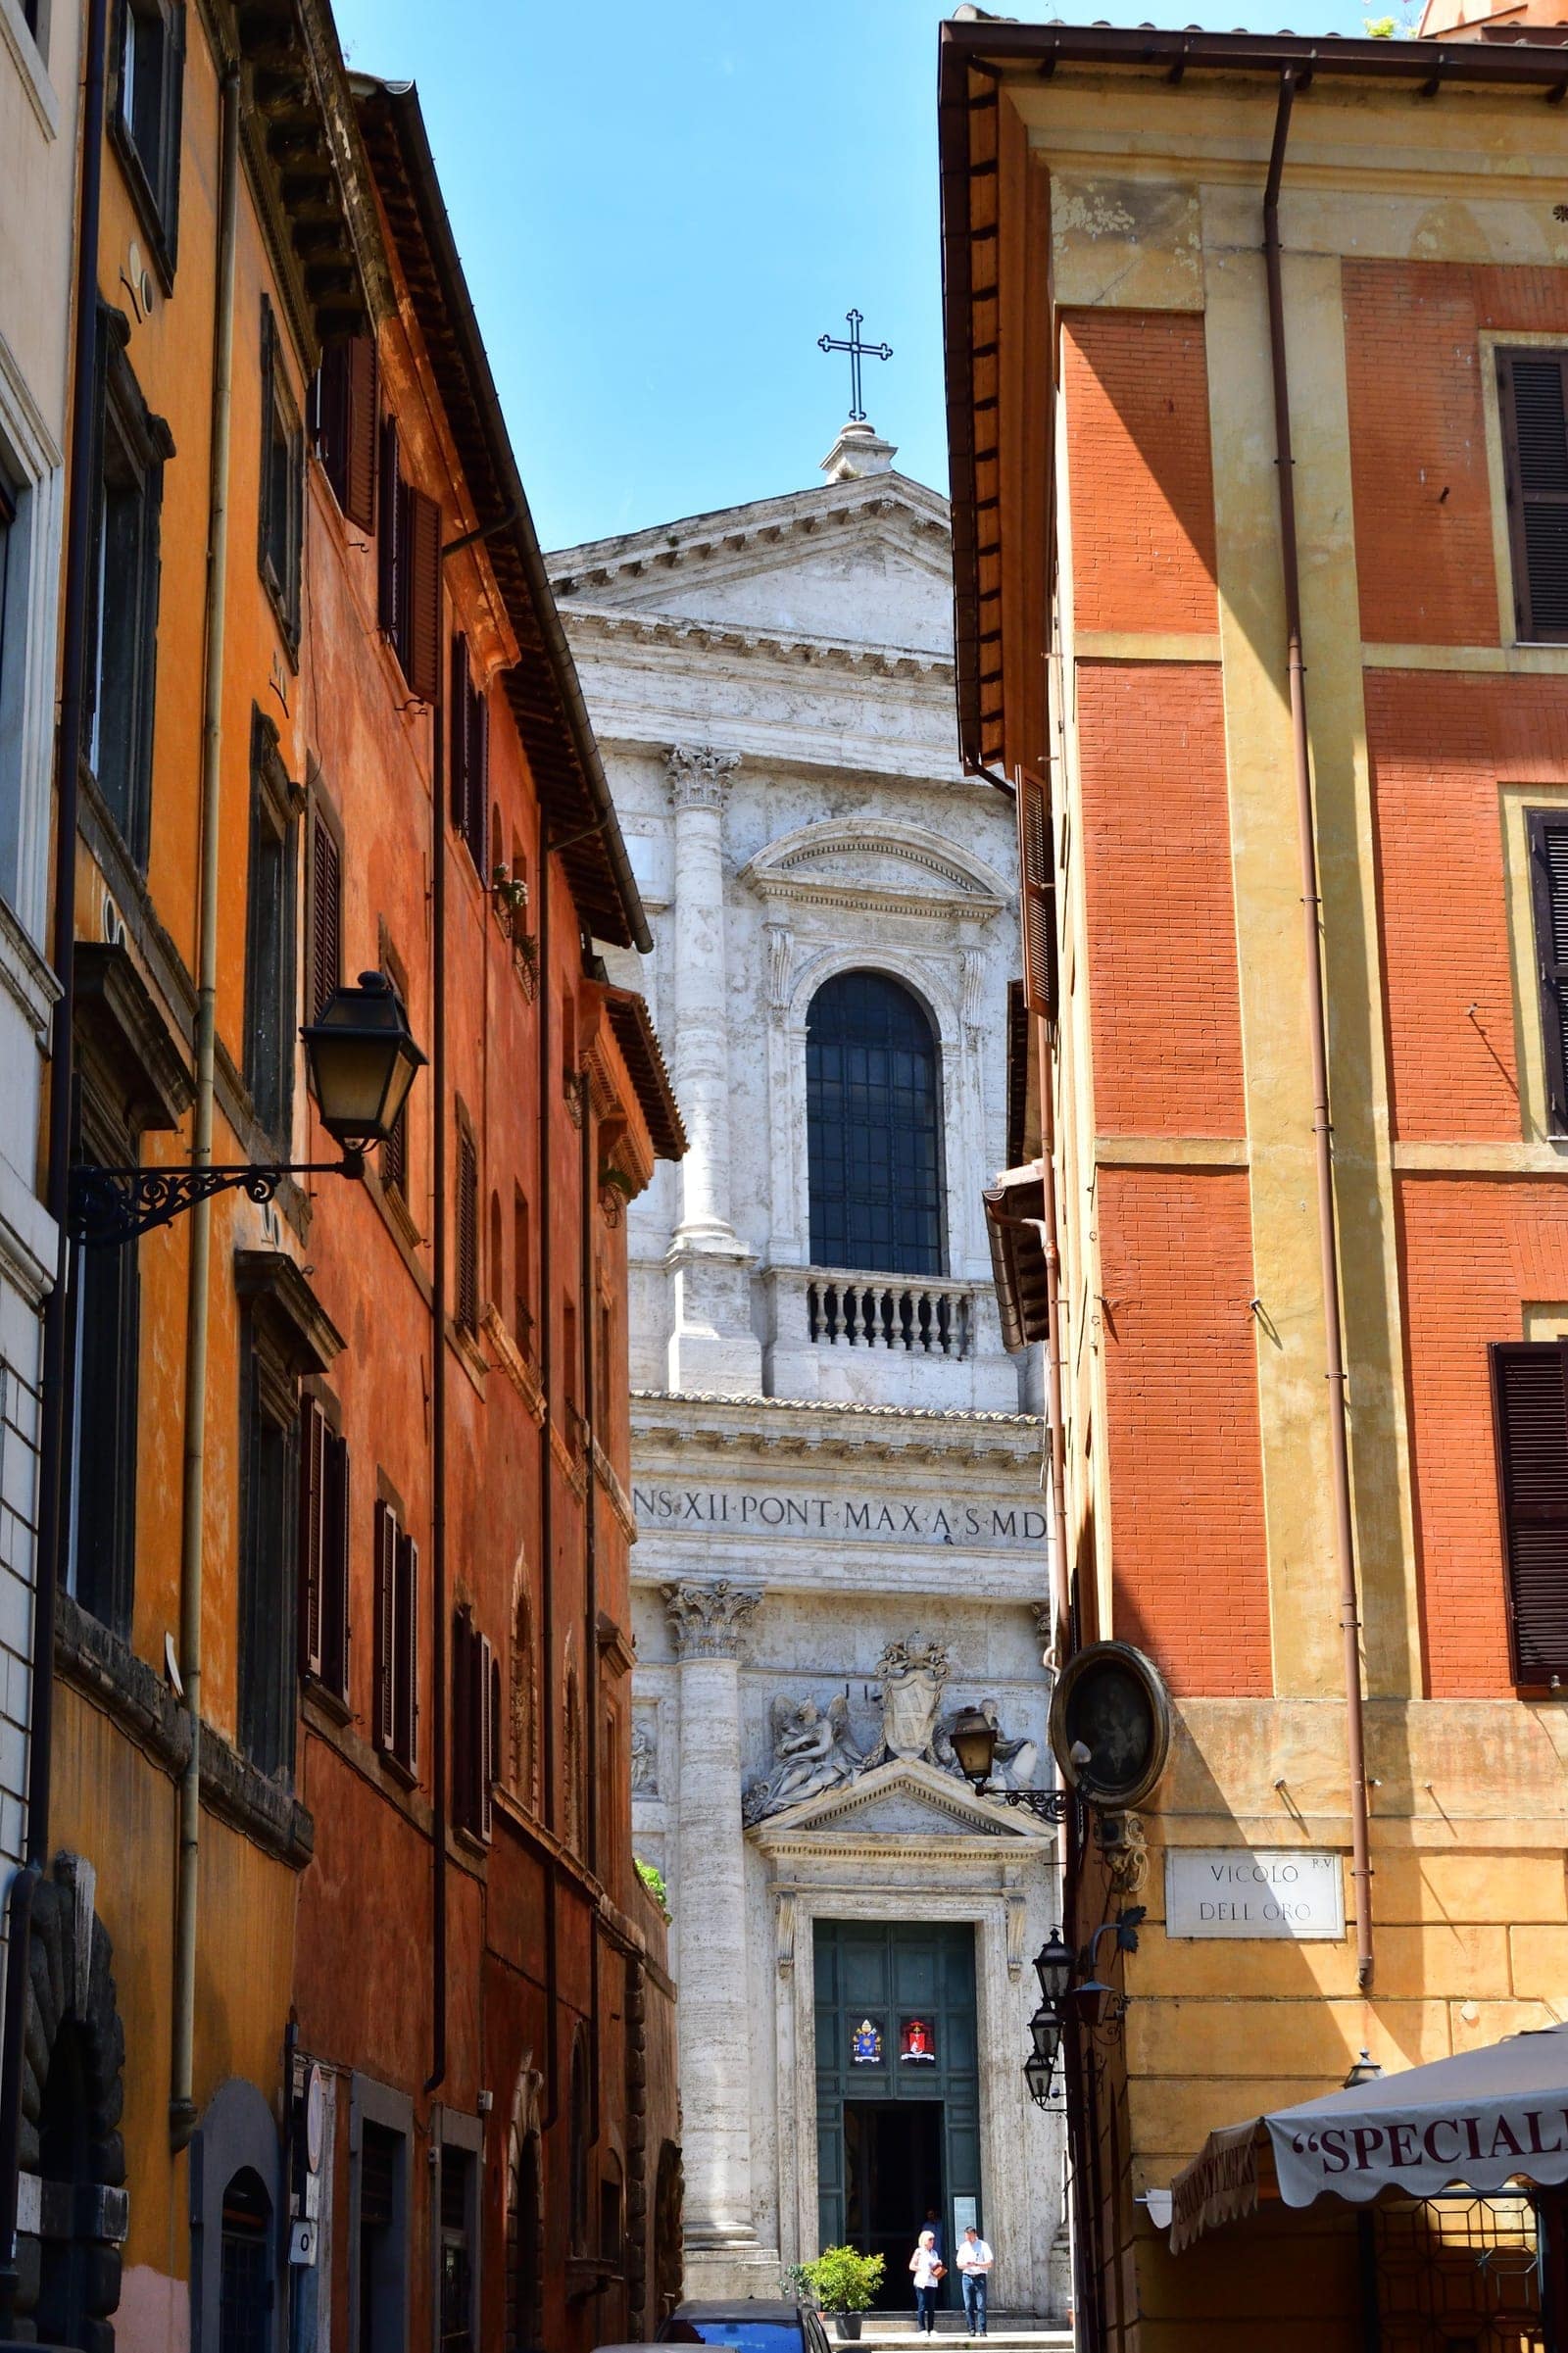
Start here when the Vatican side is behind you and the route needs its first true bridge church. San Giovanni works because it belongs to movement: close enough to the river logic to matter, large enough to feel like a real stop, and well placed for the moment when the day stops being a Vatican orbit and starts becoming a westward walk. This is the first stop that makes the crossing feel like its own walk. Before this point, you are still finishing the Vatican side of the day. Here, the crossing begins to feel deliberate.
Stop 2
Island midpoint
San Bartolomeo all'Isola
A Tiber Island church that gives river-crossing routes a real sacred stop instead of leaving the island as a simple bridge between neighborhoods.
Continue here when you want the river crossing to have sacred weight instead of being just a bridge between neighborhoods. San Bartolomeo gives the route a midpoint that many ordinary walks lack: a church that makes the island pause feel earned. It is the place where the route becomes more than relocation. Without this stop, the guide risks becoming a line drawn on a map. With it, the crossing gains shape and memory.
Stop 3
Trastevere landing
Santa Maria in Trastevere
The essential Trastevere anchor, rewarding not just for its fame but for the way mosaics, square, and neighborhood atmosphere reinforce one another.
Finish here when you want the landing in Trastevere to feel complete. Santa Maria in Trastevere is the strongest end point because it brings together church, piazza, neighborhood identity, and the sense that the route has arrived somewhere real. After the river and island stages, this is the stop that lets the day settle instead of simply continuing to drift. It is the clearest finish because the walk needs one unmistakable destination church, not just a district label at the end of a walk.
Choose a related route
Use one of these if you want a tighter route or a clearer next step.